
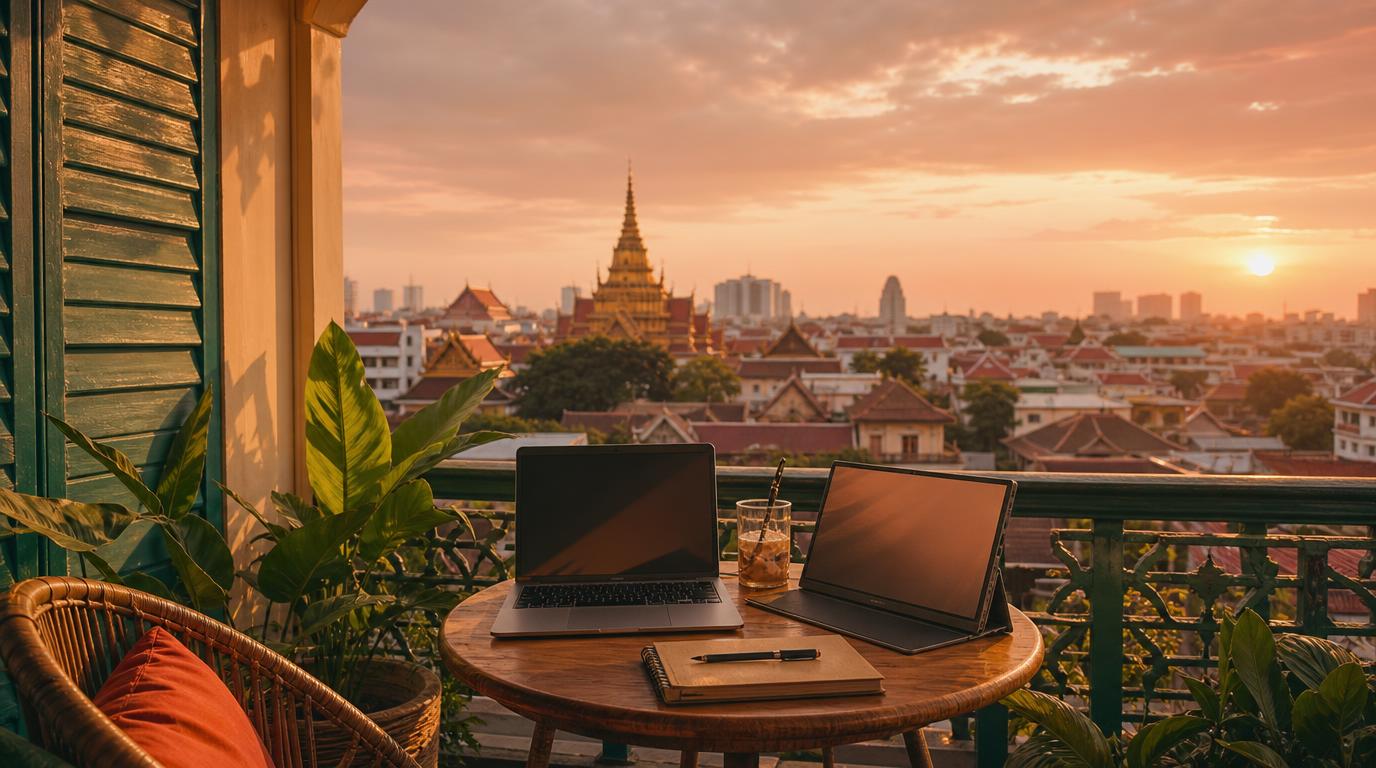
A hotel desk or an Airbnb dining table can hold a real workday, but only if you treat setup as a five-step process instead of just opening the laptop. This guide covers testing the connection, fixing the ergonomics, and protecting your gear, in the order that actually matters. Do these once at check-in and the rest of the stay runs itself.
1. Test the wifi before you unpack
Don’t wait for your first call to find out the connection can’t hold it. Run a speed test the moment you’re online, from the actual room, not the lobby.
- What a video call actually needs: Zoom’s bare minimum is around 1.5 Mbps down for basic video, but a 1080p HD group call needs closer to 3.8 Mbps down and 3.8 Mbps up.
- What “fine” wifi looks like: 20 to 50 Mbps download handles browsing, email, and most calls without issue. Below 20 Mbps, expect frozen frames or dropped audio once a second device joins the network.
- How to check it: Speedtest by Ookla or Fast.com, both free, both give download, upload, and ping in under a minute.
- Backup for when it fails: a travel router like the GL.iNet Beryl AX (around $99) shares the property’s wifi over your own encrypted network, which helps with weak signal but not a genuinely slow connection. For that, a standalone hotspot with its own SIM, like the Netgear Nighthawk M6 (around $400, 13-hour battery), bypasses the property’s internet entirely.
A speed test takes two minutes and tells you whether to request a room change, book a coworking day pass, or just relax. Finding this out mid-call costs a lot more than two minutes.
2. Get your screen to eye level
Hotel desks are built for writing postcards, not eight-hour workdays. The chair is usually too low, the desk too high, or both, and a laptop screen alone sits well below eye level either way.
- Add a second screen: the ASUS ZenScreen MB16ACE is a 15.6-inch 1080p portable monitor, about 1.7 lbs, that runs off a single USB-C cable for both video and power, priced around $170.
- Lift the laptop itself: the Roost V3 stand folds to 5.8 oz and adjusts across seven heights, around $90. The Nexstand K2 does the same job at 8 oz for about $35 if budget matters more than the extra ounces.
- Angle it toward the light, not away from it, so the screen doesn’t wash out against a bright window behind it.
A stand alone fixes neck strain within a minute of setup. Add the portable monitor on top and you get a real dual-screen layout, which matters more than it sounds like once you’re three weeks into back-to-back calls on a single 13-inch panel.

3. Bring your own keyboard and mouse
Once the laptop is up on a stand, typing directly on it means reaching up at an awkward angle for hours. A separate keyboard and mouse fixes this and takes almost no pack space.
- A compact option that travels well: the Logitech Pebble 2 Combo pairs over Bluetooth with up to three devices, has a slim, quiet-key profile, and works well in an Airbnb with thin walls where a clicky mechanical board would bother a roommate or a neighbor.
- Keep the keyboard flat on the desk, laptop up on the stand behind it, monitor above that. That stacking order is what actually makes the ergonomic fix work.
Skipping this step is the most common reason a laptop stand ends up back in the bag by day three. Elevating the screen without separating the keyboard just moves the strain from your neck to your wrists.
4. Protect your power setup
Hotel and Airbnb outlets vary wildly in quality, and older wiring in a lot of countries produces real voltage spikes, not just a rumor travelers repeat to each other.
- A surge protector that packs small: the Anker 521, about $16, rated for 1,200 joules of surge protection, with three AC outlets plus two USB-A ports and one 30W USB-C PD port.
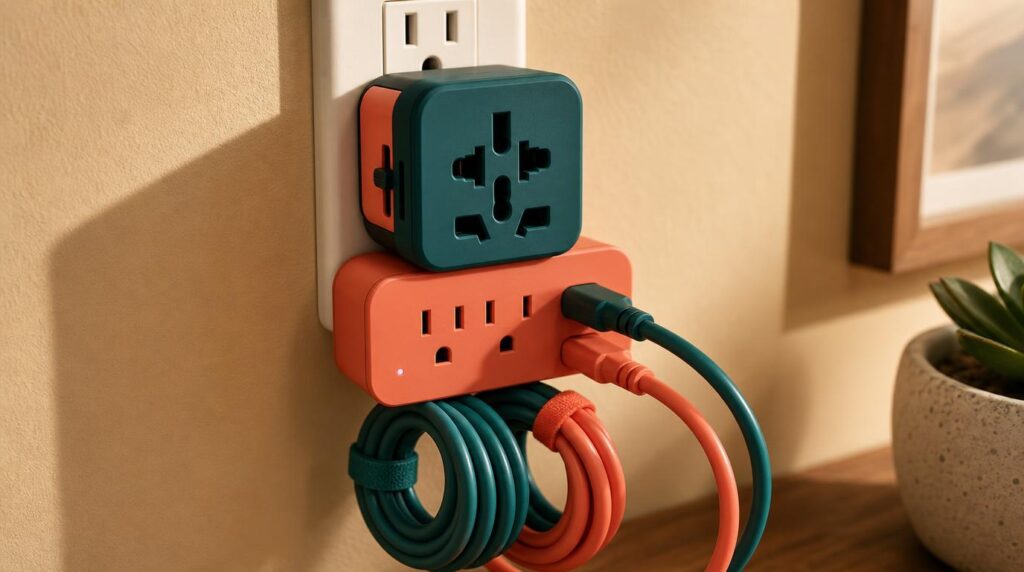
- A universal adapter that covers the plug shape for wherever you’re staying, kept in the same pouch as the surge protector so it’s never the item you forget.
- Plug the surge protector in first, then everything else into it. That’s the whole setup, and it takes under a minute once the habit sticks.
A fried charger or a damaged laptop battery from an unprotected outlet costs far more than the $16 device that prevents it, and replacing either one mid-trip usually means losing a full work day to the search.
5. Handle lighting and sound before the call starts
Gear solves connectivity and posture. Lighting and noise are the two things that still make a call look and sound unprofessional even with a perfect setup.
- Face the window, don’t put it behind you. Overhead hotel lighting alone tends to cast shadows under the eyes.
- Check the bathroom light if the room has no good window angle. Bathroom mirror lighting in most hotels is stronger and more even than the desk lamp, and it’s worth testing on a practice call before it matters.
- For thin Airbnb walls, a door hanger or a text to a host about quiet hours during your call window solves more than any piece of gear does.
None of this needs a purchase. It needs five minutes before the first call of the day, done once, so it’s not a scramble ten minutes before a meeting starts.
The mistake that costs a meeting
The most common failure isn’t bad gear, it’s treating any desk as a workspace without testing it first. Travelers open the laptop, join a call, and only then discover the wifi can’t hold HD video or the chair makes an hour of typing painful. Run through these five steps in the first ten minutes after check-in, not the first ten minutes of a client call. A hotspot you never needed costs nothing. A dropped call during a deadline costs a lot more.
Wherever the next stop is, a workspace that actually holds up matters as much as the flight that gets you there. Search flights on FlyBibe for the next leg, and set up once you land instead of scrambling on arrival.